Are you ready for a snowboarding adventure unlike any other? Splitboarding is your ticket to ride, opening up a world of untouched powder and backcountry bliss. In this ultimate guide, we’ll lead you through the ins and outs of choosing the right splitboard, gearing up, and mastering the techniques for a successful splitboarding experience. Say hello to your new favorite winter sport!
Key Takeaways
Experience the joy of snowboarding in untouched powder with a splitboard!
Choose from freeride, all-mountain freestyle & powder surf inspired boards to suit your style.
Gather safety gear and learn tips for transitioning between modes & mastering downhill riding.
Understanding Splitboards
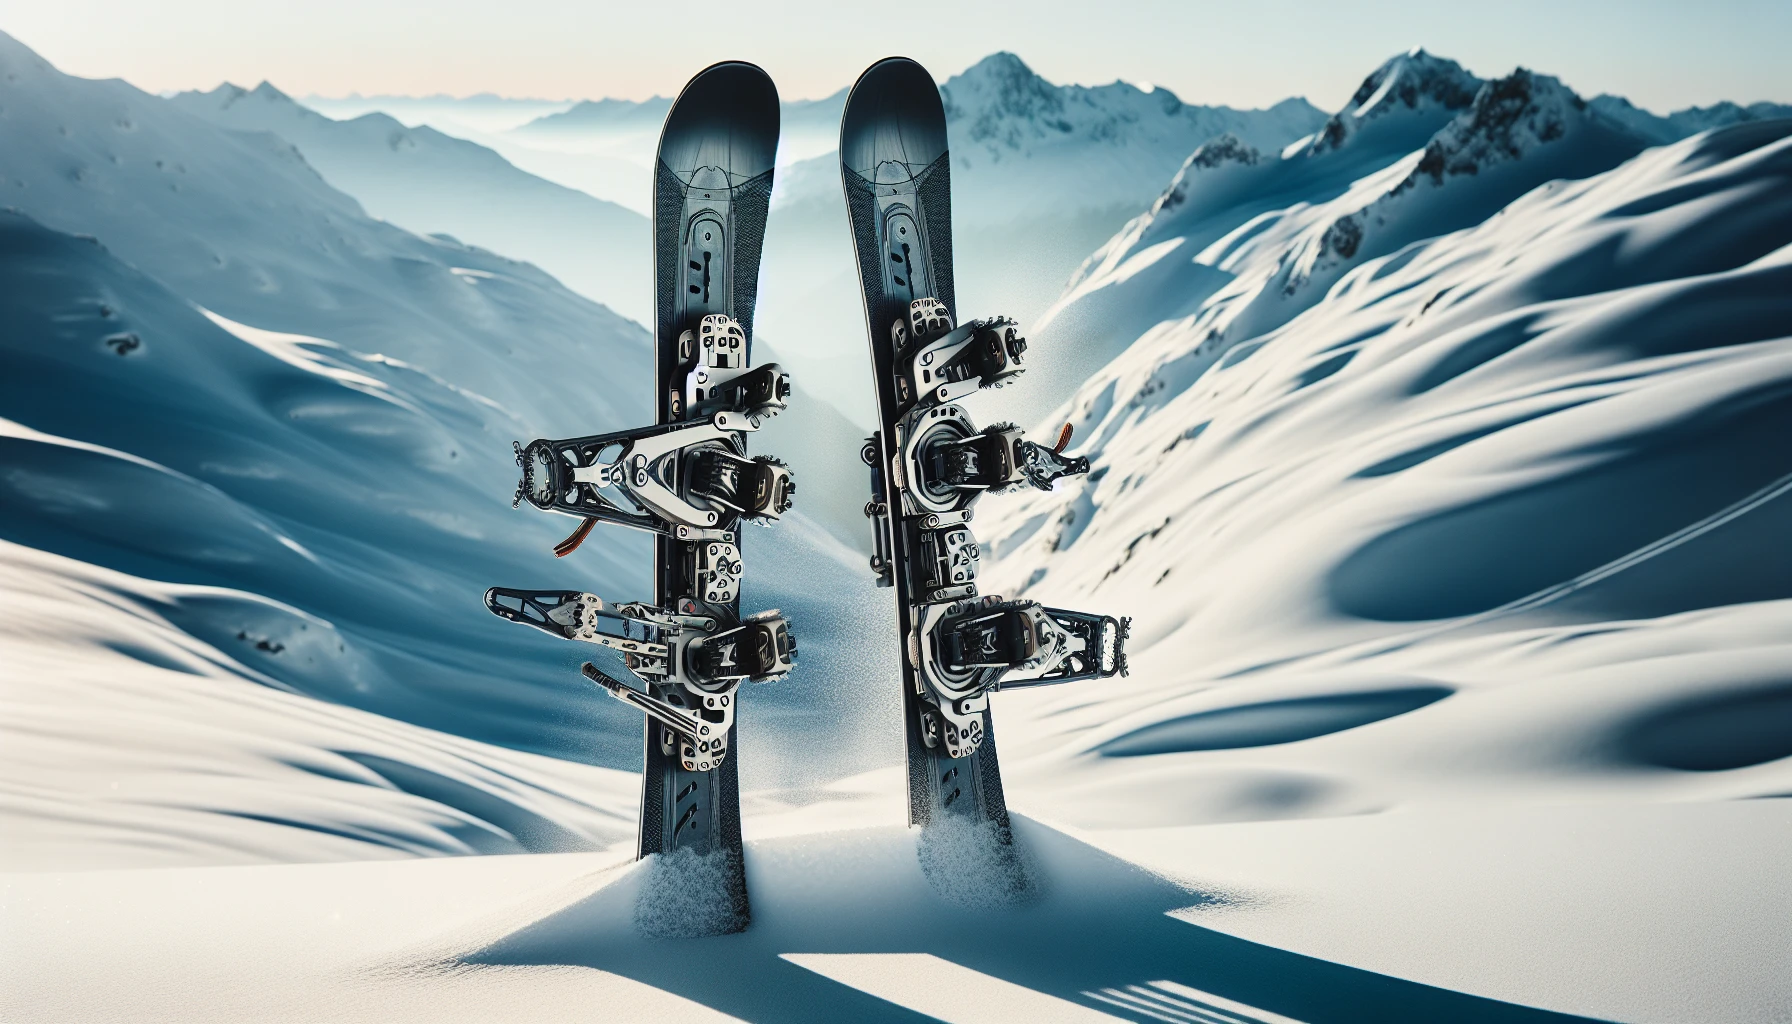
Welcome to the world of splitboarding, where the thrill of the backcountry meets the excitement of snowboarding. A splitboard is a snowboard that splits apart into two skis, allowing you to hike uphill with ease and then reconnect the board for an exhilarating downhill ride on your splitboard ski.
Embracing splitboarding allows you to escape the hustle of ski resorts, venture into untouched powder, and savor a nature-focused experience like no other.
Components of a Splitboard
A splitboard is composed of a few key components: the board itself, splitboard bindings, and climbing skins. The bindings are designed to securely attach your boots to the splitboard, and the climbing skins provide traction for uphill travel. The board’s construction includes materials such as a wood core, fiberglass or carbon fiber topsheet, and metal edges for grip and control during downhill snowboarding.
Assembling your splitboard involves ensuring the toe end of your bindings aligns correctly with the pucks. The bindings feature grooves in the baseplate that slide over the pucks and brackets in the toe area, making it easy to transition between riding and touring modes.
How Splitboards Function
Splitboards offer the perfect balance of uphill and downhill performance. Here’s how they work:
When it’s time to hike uphill, simply remove your bindings, unlatch the tip and tail clips, and separate the two pieces of your board. The outside edge of each half will be your uphill travel companion.
Then, when you’re ready to ride downhill, reconnect the board using specially engineered clips.
Enjoy snowboarding as you know it.
The beauty of splitboarding lies in its versatility, allowing you to efficiently transition between uphill and downhill modes. Conquering challenging backcountry terrain maximizes your time riding and wandering the great outdoors.
Selecting the Perfect Splitboard for Your Riding Style
Familiar with the basics of splitboarding, you’re now ready to find the perfect board that suits your riding style. There are a variety of splitboards available, including freeride, all-mountain freestyle, and powder surf-inspired options. Your skill level, preferred terrain, and personal preference will guide your choice, ensuring that you find the best splitboard for your snow-filled adventures.
It’s time to examine the different types of splitboards to find the perfect match for your riding style and backcountry aspirations.
Freeride Splitboards
Freeride splitboards provide exceptional performance and versatility for all kinds of backcountry conditions. These boards feature a directional freeride shape and a versatile mid-stiff flex, providing excellent flotation and control in powder and backcountry terrain. The design of a freeride splitboard can greatly enhance its maneuverability and performance, ensuring a balanced and responsive ride.
Some of the best freeride splitboards on the market include:
Jones Stratos
Lib Tech Split Brd
Wndr Alpine Shepherd Tour
Weston Backcountry Backwoods
United Shapes Covert
With a freeride splitboard, you’ll be ready to conquer any backcountry challenge that comes your way, as opposed to using a regular snowboard.
All-Mountain Freestyle Splitboards
All-mountain freestyle splitboards cater to riders who love exploring a mix of terrain and performing tricks. These boards offer a rocker-dominant or rocker-camber hybrid profile, ensuring a smooth and catch-free ride with great float in powder. With a softer flex, all-mountain freestyle splitboards make turn initiation easier and allow for more fun tricks in the terrain park.
Choosing an all-mountain freestyle splitboard offers you the perfect blend of versatility and playfulness. Some popular options include the Rome Whiteroom, K2 Ultra Split, and Never Summer Swift Split. Embrace the all-mountain freestyle spirit and explore the entire mountain with confidence.
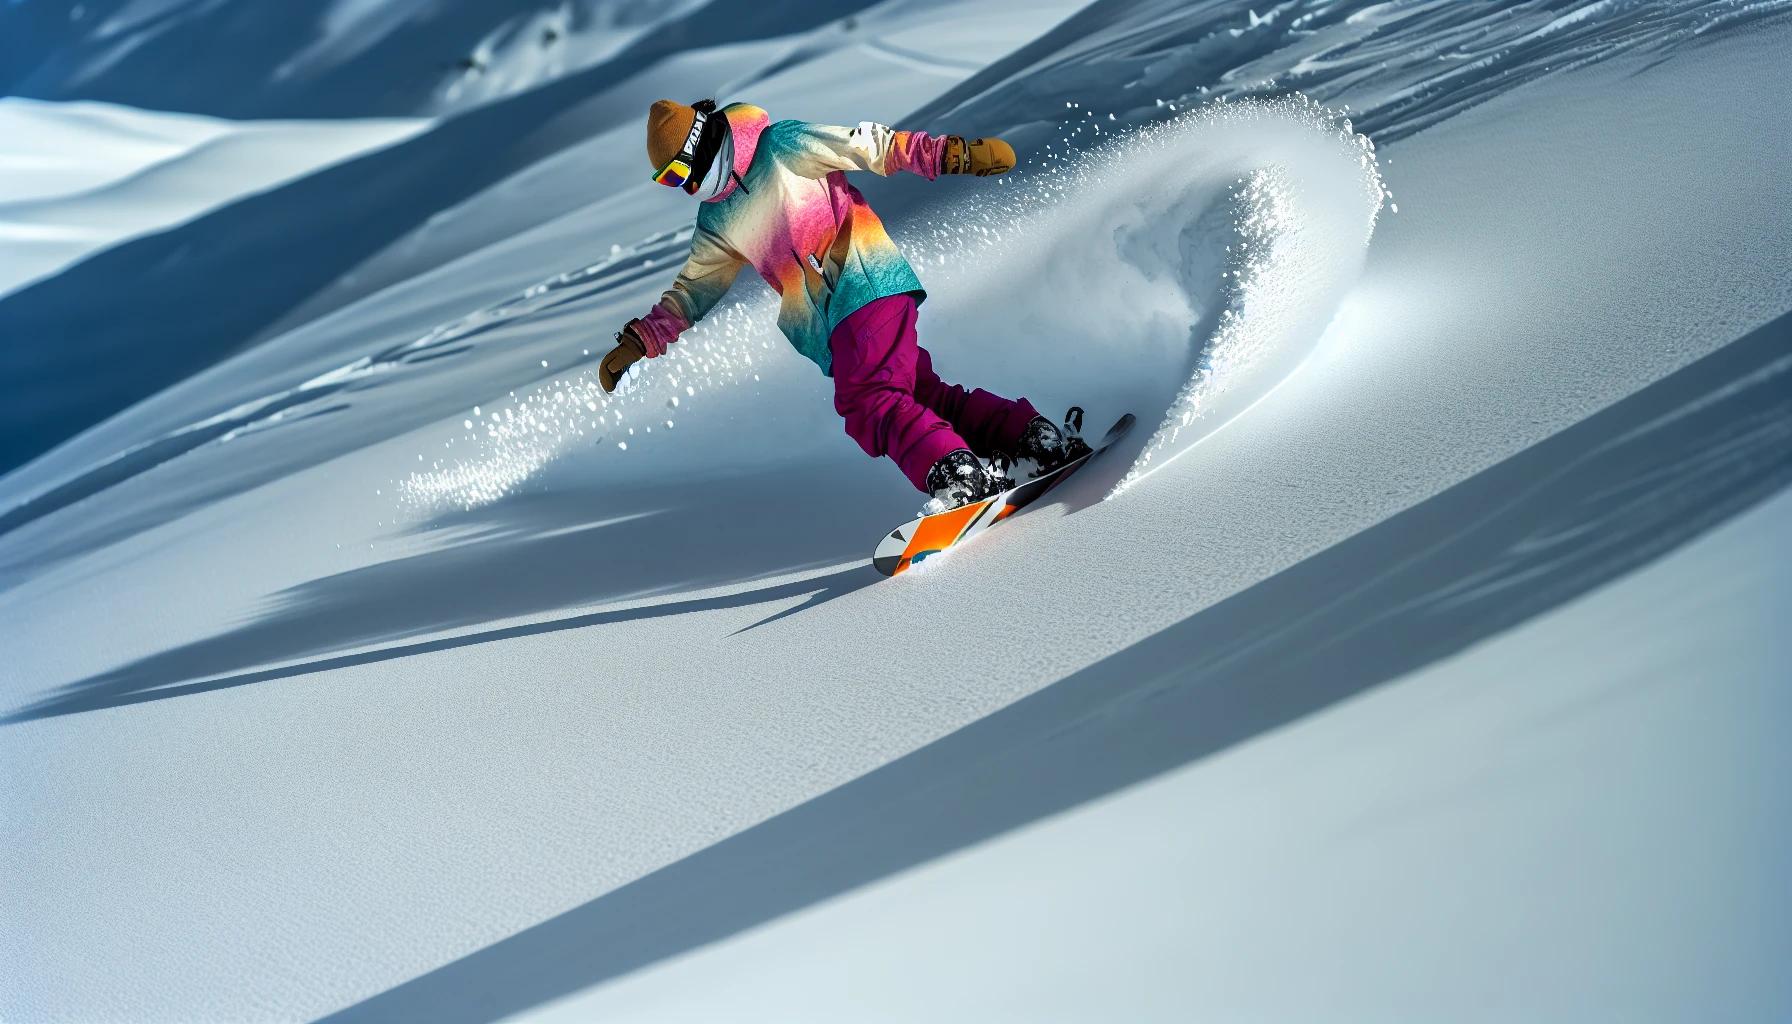
Powder Surf-Inspired Splitboards
Powder surf-inspired splitboards are designed to provide an unparalleled ride in deep snow. They focus on maintaining float along the entire length of the board, rather than relying on a sinking tail to keep the nose up. These boards often feature a directional shape and wide rockered nose, resulting in excellent maneuverability in challenging terrain.
Some top powder surf-inspired splitboards include the Amplid Surf Shuttle, Cardiff Goat Pro Carbon, and Jones Ultra Solution. With a powder surf-inspired splitboard, you’ll glide through deep snow like a dream, experiencing the true essence of backcountry snowboarding, while a normal snowboard might not provide the same level of performance in such conditions.
Gearing Up for the Backcountry

Armed with your ideal splitboard, you’re now equipped to gear up for the backcountry. Essential equipment for splitboarding includes splitboard bindings, climbing skins, and safety gear such as an avalanche beacon, shovel, and probe. By securing the right gear, you’ll be well-prepared for a thrilling and safe splitboarding experience.
Let’s examine some essential gear needed for your backcountry splitboarding adventures.
Splitboard Bindings
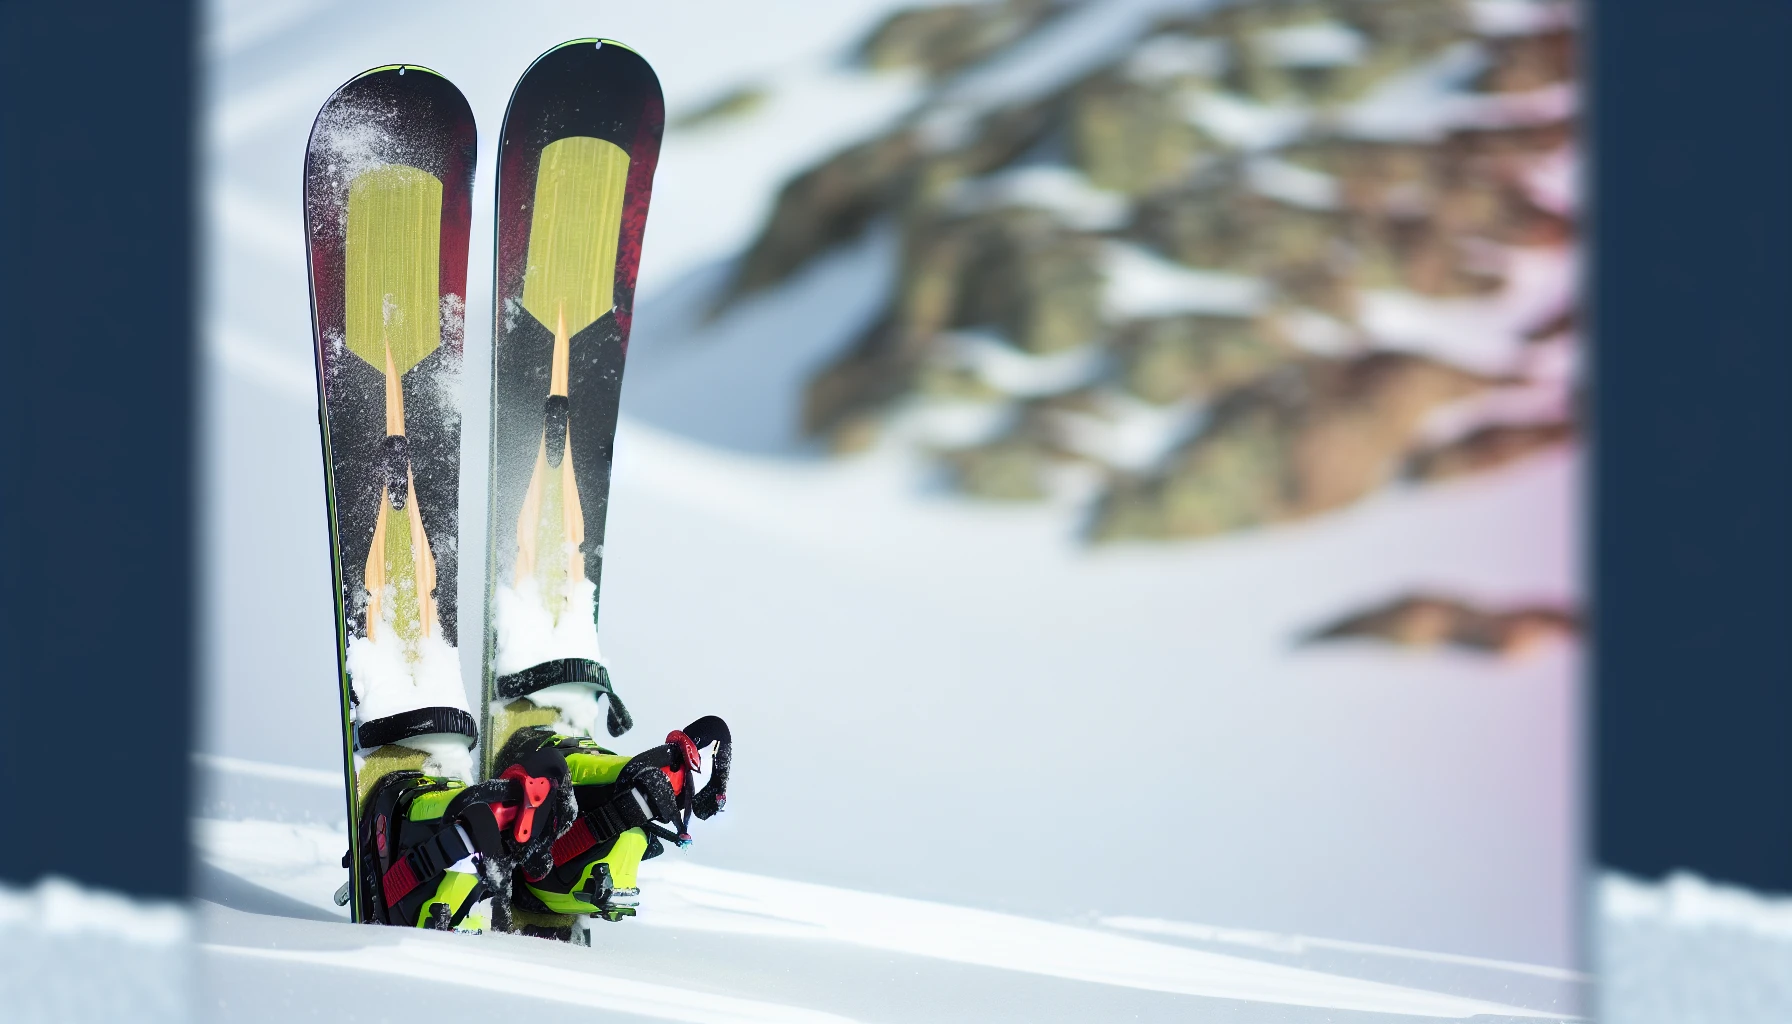
Selecting the suitable splitboard bindings ensures a comfortable and secure ride. When selecting bindings, consider factors such as binding type (puck-based or active), compatibility with your splitboard, flexibility and adjustability, weight, and durability. Some top splitboard bindings for backcountry snowboarding include the Spark R&D Surge Pro, Union Charger FC, and Burton Hitchhiker.
Splitboard bindings, also known as splitboard specific bindings, differ from regular snowboarding bindings in their lightweight design, ease of use, and ability to transition between splitboard and snowboard modes. Finding the perfect bindings for your needs enhances your splitboarding experience, allowing you to fully enjoy your time on the mountain.
Climbing Skins
Climbing skins, significant components of splitboarding, provide the necessary traction for uphill travel. These adhesive-backed materials attach to the base of your splitboard skis, allowing you to effortlessly ascend slopes. When selecting climbing skins, a 70/30 blend of mohair and nylon offers an optimal balance of grip and durability.
To properly attach climbing skins to your splitboard, follow these steps:
Ensure the base is clean and dry.
Lay the skins flat on the base.
Securely attach the tip and tail of the skin to the respective ends of the splitboard.
With your climbing skins in place, you’ll be ready to conquer any uphill challenge.
Safety Equipment
Prioritizing safety in the backcountry is a must, so ensure you’re equipped with essential avalanche gear like a beacon, shovel, and probe. These tools are crucial for quickly locating and rescuing someone who has been buried in an avalanche.
In addition to avalanche gear, navigation tools like:
a basic, altimeter, or GPS watch
maps
compass
a GPS locator
can help you stay safe and navigate the backcountry with ease. For added safety, consider carrying an inflatable airbag system and a whistle in your backpack.
Tips for a Successful Splitboard Adventure
Geared up and ready to ride, let’s review some tips and tricks to ensure a successful splitboarding adventure. From transitioning between modes to mastering uphill and downhill techniques, these expert insights will help you make the most of your time in the backcountry.
Whether you’re a seasoned splitboarder or a newcomer to the sport, these tips will keep you on the right track for an unforgettable splitboarding experience.
Transitioning Between Modes
Transitioning efficiently between splitboard modes contributes to a smooth and enjoyable backcountry experience. To transition from uphill to downhill mode, fold and roll up your skins, put the splitboard halves together, remount the bindings, and switch the board from walk/tour mode to ride mode. To go from downhill to uphill mode, step out of your bindings, remove them, put the board together, attach the bindings, and fold away your poles.
Practicing these transitions can help you become more efficient and improve your skills. Remember to take your time and enjoy the process, as rushing the transition can lead to errors and unnecessary time fiddling.
Uphill Technique
Mastering uphill travel on a splitboard involves:
Finding the optimal pace
Practicing effective skinning technique
Pushing forward without pushing down, aiming to leave two even lines in the snow behind you instead of V-shaped steps
Maintaining proper body posture
Sliding forward, planting your heel, and pulling your whole body forward
Establishing a steady rhythm and pace that works for you
Conserving energy and staying energized throughout your ascent
Depending on the slope angle, you may find it easier to move and maintain traction on slopes with angles of at least 30 degrees. For steeper slopes, bootpacking may be necessary.
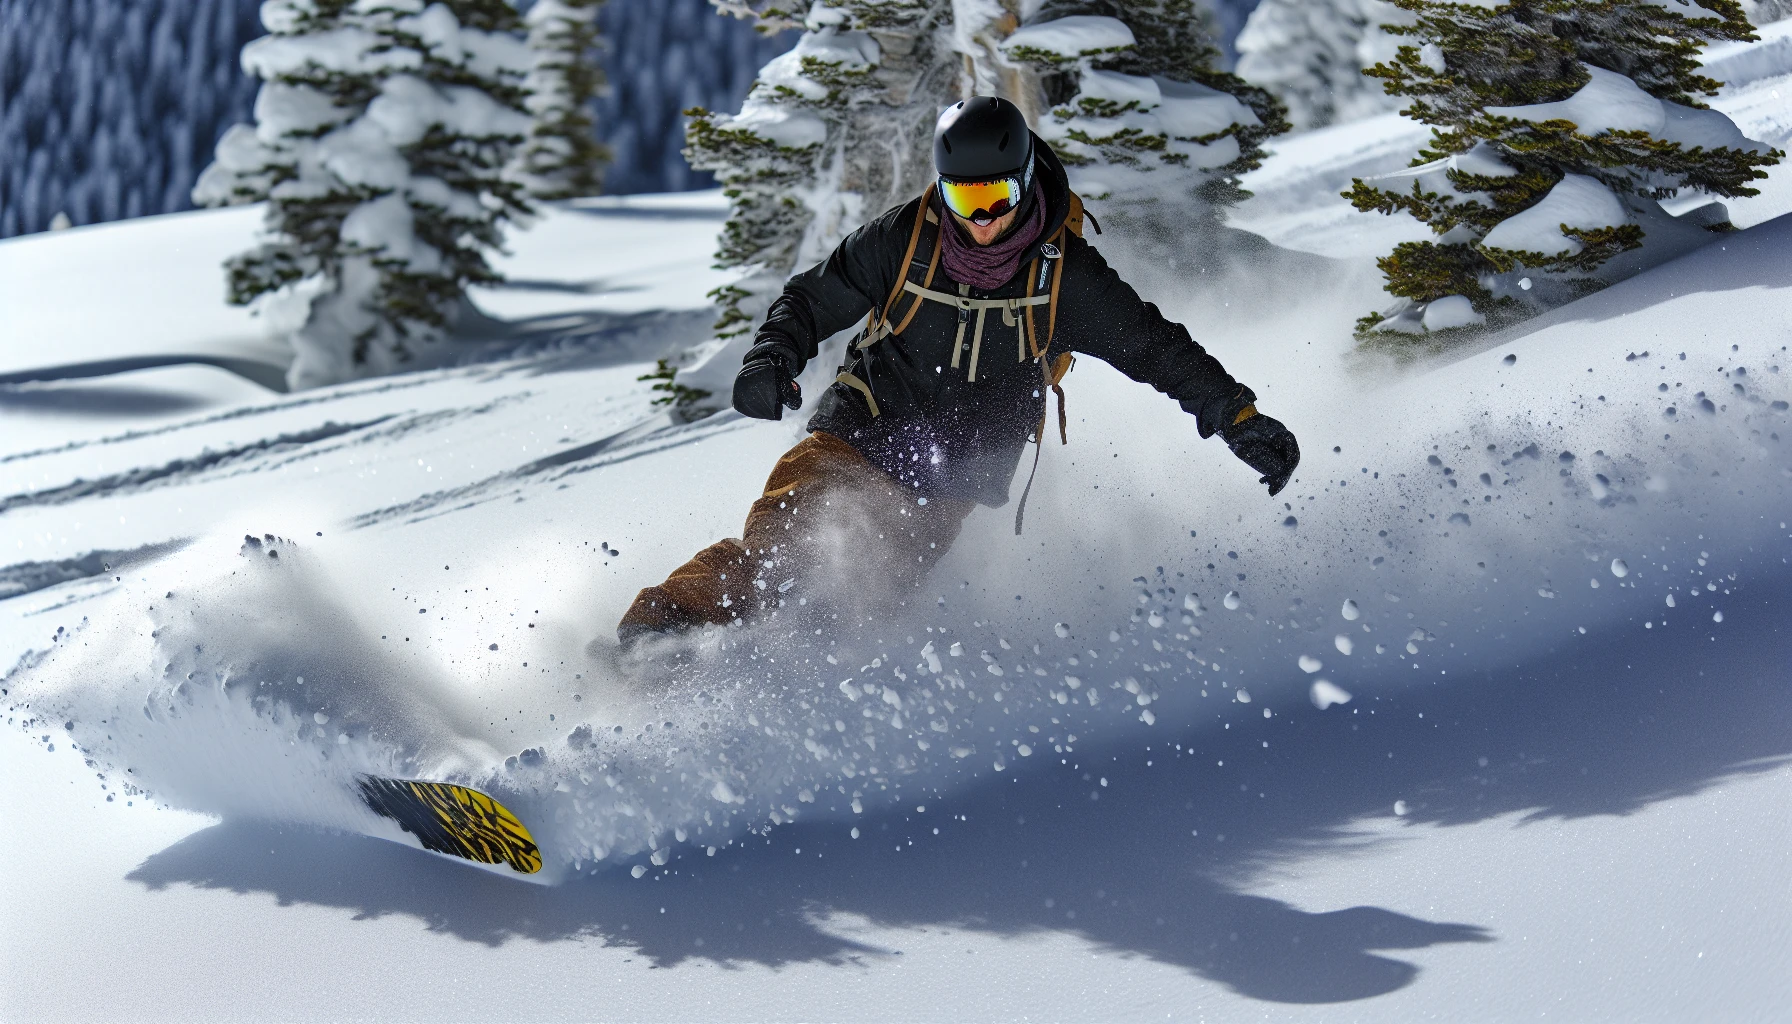
Downhill Riding Tips
Navigating downhill terrain on a splitboard improves with practice. Here are some tips to keep in mind:
Focus on standing vertically with shoulders back and chin up.
Tilt the downhill split ski laterally to maintain control.
Keep a slow and controlled speed on steep and icy routes.
Use kick turns to change direction.
Practice turning on downhill terrain to become more comfortable.
By honing your skills and understanding the nuances of splitboard design, you’ll be able to tackle a variety of downhill conditions with confidence and grace. So embrace the challenge and ride on!
Summary
In this ultimate guide to choosing the right splitboard, we’ve explored the components and functions of splitboards, the different types of splitboards to suit your riding style, essential gear for backcountry adventures, and tips for a successful splitboarding outing. With the right knowledge, equipment, and practice, you’ll be well on your way to conquering the mountain and experiencing the thrilling world of backcountry splitboarding.
So gear up, embrace the adventure, and get ready to master the mountain on your very own splitboard!
Frequently Asked Questions
What is the point of a splitboard?
Splitboards offer an incredible way to experience the snow, allowing you to ride down the slopes like a regular snowboard, but with the added capability of being able to ski your way up. Whether it’s for the thrill of exploration or to access those untouched powder stashes, splitboards can help get you there.
Can you go downhill on a splitboard?
Yes, you can go downhill on a splitboard – the added weight is the only notable difference and models tend to be made stiffer to accommodate for it.
Can you use a splitboard at a resort?
Yes, you can definitely use your splitboard at a resort – it may be a bit heavier than traditional boards but you won’t have any issues riding the lift with it.
What is the main advantage of using a splitboard over a traditional snowboard?
Splitboards offer the perfect combination of uphill efficiency and downhill performance, making them ideal for backcountry exploration.
How do I transition my splitboard from uphill to downhill mode?
Transitioning to downhill mode on your splitboard is easy – just fold and roll up the skins, connect the board halves, reattach the bindings, and switch to ride mode.